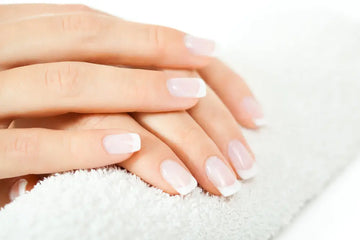
Traditional nail polishes are prone to chipping within a few days, quite often due to more oil production on the nail bed which prevents the polish from adhering for a prolong duration. Gel polish is the latest trend for those struggling with long-wearing nail polish. Unlike regular nail polish, gel polish is a thinner formula and more flexible than standard acrylic enhancements so it will not chip easily from your nails.
Applying the color requires a specification technique using UV or LED lamp to help it remain on the nail bed. The method for applying gel polish can be done at home easily for a long lasting manicure. With a thin formula, the gel polish will not come off easily with a single swipe of nail polish remover. Correct removal of the gel polish will assure the health of your nails remain intact.

DIY STEPS TO APPLY GEL NAILS
1. Begin with clean nails. Use a cuticle oil to remove any excess skin laying on the nail plate, you can also push the skin back with a orangewood stick for a smooth surface. A nail file will shape the nails to your desired length to get your nails ready for the gel polish. Excess oil and residue should be removed with a cotton ball dampened with acetone.
2. Base coat is important to protect your natural nails from damage. Apply a very thin coat of the base gel to the nails, avoid applying the base gel polish close to your cuticle. Place your nails under a UV or LED lamp. LED lamp will cure the gel polish in just 30 seconds, or 2 minutes with a UV lamp.
3. Apply a very thin coat of gel polish color. Remember to use the thinnest layers step by step to prevent the gel polish from lifting off the nail. Cure the nail under the UV or LED lamp.

4. For full color application, use a second coat of color and cure it under the UV or LED lamp. Make sure to coat the color onto the nail completely, as well as the edge.
5. Finish with a thin layer of top coat for a glossy look and cure it under the UV or LED lamp.

HOW TO REMOVE GEL NAIL POLISH
- File and gently buff the top coat off your nails until the glossy finish is removed.
- Use 100 percent acetone and soak a small piece of cotton ball.
- Cut small square pieces of tin foil for each nail to wrap around your finger. Wrap the cotton ball on your nail and place a small piece of tin foil on top, wrapping it tightly.
- Allow the nails to soak in the acetone for 15 minutes, making sure the cotton is placed directly on your nail.
- Remove each wrapper one nail at a time, the gel polish should be softened and released from the nail. Use a orangewood stick to gently push the gel off your nail. If any small piece of polish is remaining, use a nail file to buff it off or repeat the removal process.
- If the polish is still hard, reapply the cotton soaked acetone with the tin foil and leave it on for a longer duration. Continue until all of the color is removed from your nails.
- Finish with UKA Nail Oils, massage it all over your nails and cuticles to treat any dryness and replenish moisture leaving them looking silky and radiant.


